Add Substyles to Individual or All Words
Substyles are subtitle designs you can add to individual words or all the words in your video.
Substyles give you word by word control over how your subtitles look and feel.
You can manage your Substyles using the Substyle manager. Access the Substyle manager using this icon:
![]()
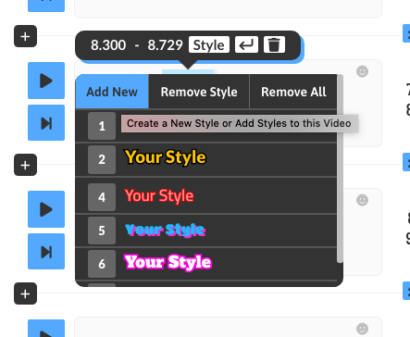
You can also access the Substyle manager from the Substyle picker:
SUBSTYLE SLOTS
Each video and template has a number of substyle slots you can utilize.
You will see these both at the top of the Substyle manager and in the Substyle picker.

ADDING A GLOBAL SUBSTYLE
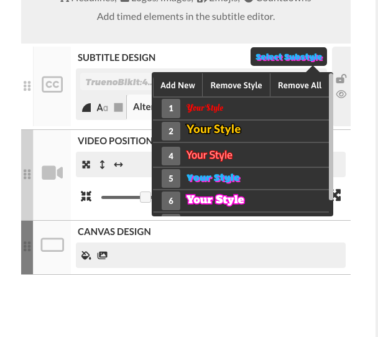
If you want to add a Substyle to all words in your video, you can do that in the subtitle design editor.
ADDING SUBSTYLES TO INDIVIDUAL WORDS
You can add Substyles to words, by selecting the word(s) and clicking the STYLE pop-up button.
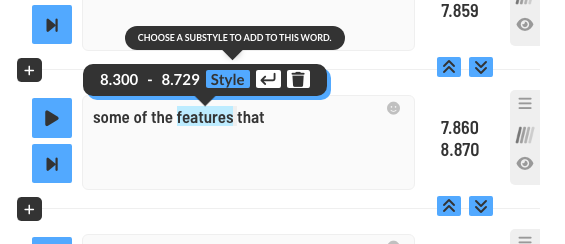
Then, click the Substyle you want to add.
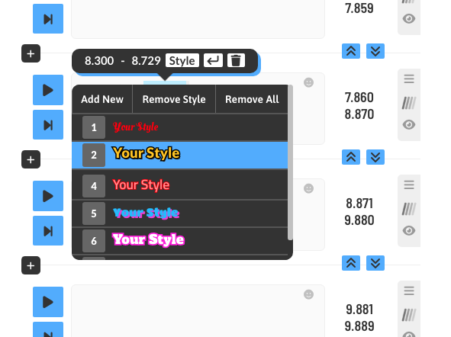
Note, you are adding identifying the word you are clicking on with a SLOT, not a style which makes it easy to go back and change styles later on.
Adding Line Breaks to Your Subtitles
You might want to control where a line break appears to control how your subtitles display.
There are two ways to insert a line-break.
ADDING A LINE BREAK BY SELECTING A WORD
- Click the word you would like to insert a line break after.
- Either click the line-break icon or use the shortcut SHIFT-ENTER.
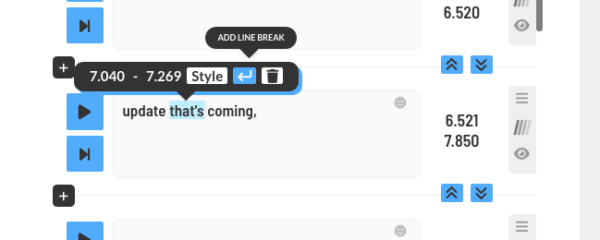
After you click the line break button or press SHIFT-ENTER, a line break will be added.

You can delete the line break by clicking on it and clicking the pop-up trash icon.
ADDING A LINE BREAK BY CLICKING A BLANK SPACE
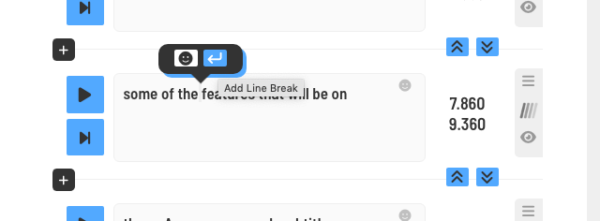
When you click on a blank space between words, a pop-up appears that will allow you to add a line break or emoji in that space. Click the line break icon to add a line break.
Deleting Words from Your Video
If you need to completely remove a word you can delete it.
However, if you just want to edit the word or replace it, it is much better to change the word than try to completely delete it and add a new word from scratch.
This is so you preserve the original word timing.
But if you absolutely don’t want a word or need to remove a mistaken word just click the word and click the trash can icon. You can also use the DELETE key if you have one. (Note, the Backspace key will NOT delete the word).
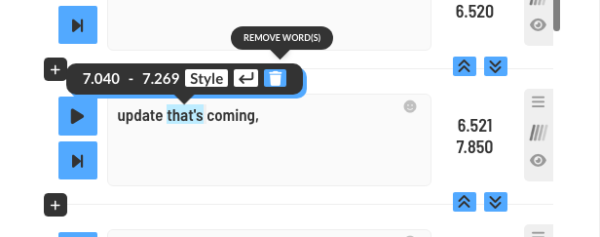
Once you delete the word, the word and timing will be removed from the editor.
Move Words Between Subtitle Blocks (Word by Word Editor)
This tutorial applies to the word by word (Substyle) editor only.
When using the word by word editor, it is important to ensure that word timings are preserved. If you have a word that needs to be moved to another block or repositioned, you can push or pull words between blocks.
Pushing or pulling words between blocks will automatically merge the words with the words in the adjacent block unless the block is empty and then they will take up the space in the empty block. Timings will automatically adjust.
PUSH WORDS TO NEXT BLOCK.
- Only words at the end of the phrase can be pushed down to the next block.
- If it is a single word, click it to select it or shift-click or drag-select multiple words.
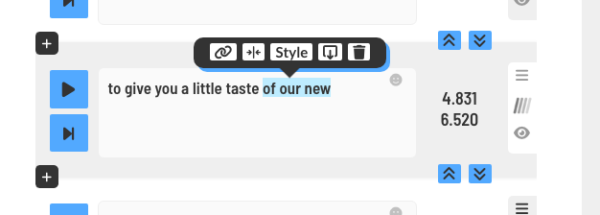
3. Either click the PUSH icon or click the TAB key shortcut to push the words down to the next block.
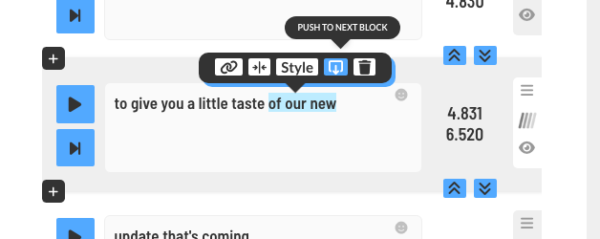
The words will be pushed down and merged with the next block.

PULL WORDS TO PREVIOUS BLOCK
If you would like to pull your words up to the previous block, click the word you want to pull OR shift-click or drag select the words you want to pull up.
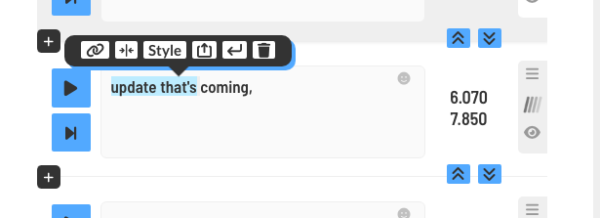
Click the PULL icon OR use the BACKSPACE shortcut to pull the words or phrases up to the previous subtitle block.
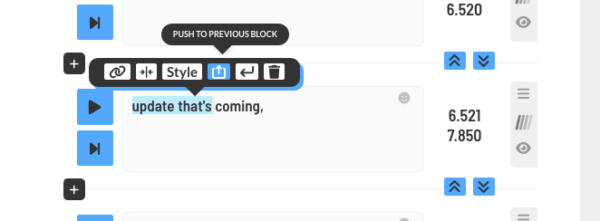
Now, the words will be merged with the previous subtitle block and times will be automatically adjusted.

ADD A NEW BLANK SUBTITLE BLOCK TO PUSH OR PULL WORDS INTO
If you are not wanting to merge words with an existing block, you can add a new blank block in between any current subtitle blocks.
Check out the “Add blank subtitle blocks (Word by Word Editor)” tutorial to see how to do this.
Adding Inline Emojis to Your Subtitles
In the new ClipScribe word by word (Substyle) editor you can add emojis inline (alongside your subtitles.)
(*If you are wanting to add an emoji as an element like an image or logo, check out the tutorial on adding static or timed emojis.)
There are two ways you can do this:
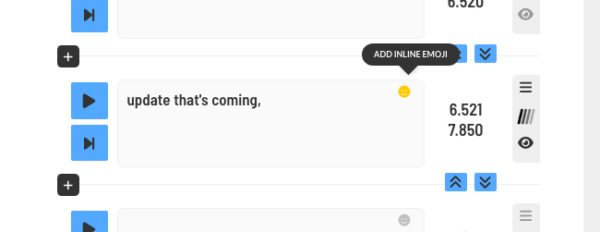
- Click the emoji icon in the upper right area of the subtitle block. This will add the emoji to the end of the phrase and you can then drag it in between the words you want to.
2. Click into the space between any words to insert an emoji into that space.
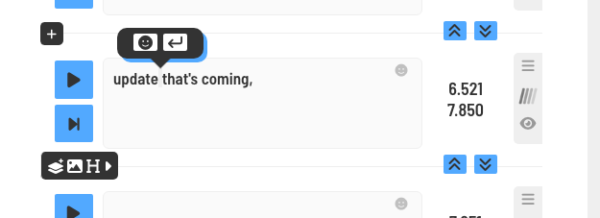
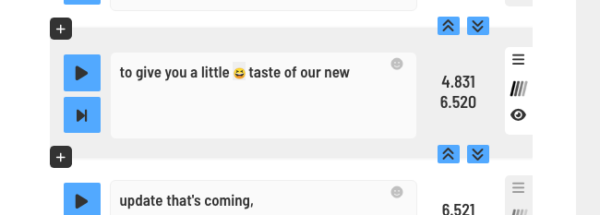
Once you have clicked on the emoji you want to add, you can drag it between the words you want it to be placed in between.
The emoji will take on the timing of the word previous to it.
How to Merge Words in Your Subtitles (Word by Word Editor)
There are a couple of reasons you might need to merge words together.
1. The words needing to be merged are meant to be a single word. i.e. Clipscribe as in the example in the video.
In this case, you want to use the button in the word pop-up options which will merge the two words into one removing the space in between them.
2. Or, you might want the words to be styled as if they were a single word, so in this case, you would use the button which will merge the two words and keep the space, but the two words will be treated as a single word for Substyling purposes.
When using the word-by-word display, and you merge two words together, they will have the same timestamp and show at the same time.
In either case, you can either Shift-Click the two words to select them first or drag-select them. Then click on of the merge icons to merge them.
