Timestamps
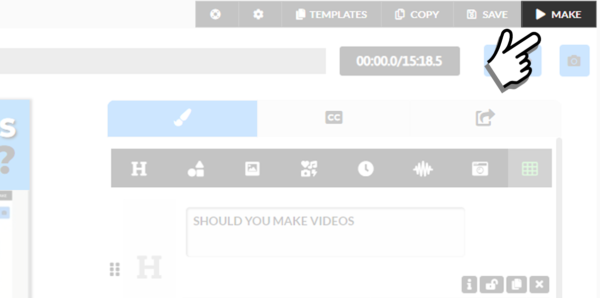
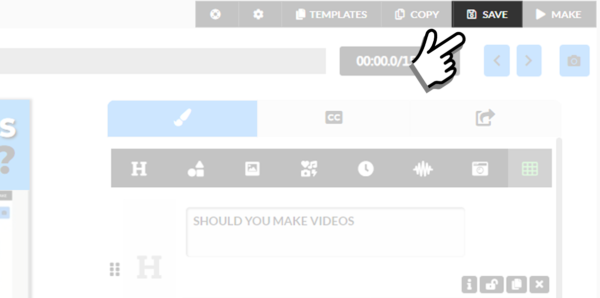
0:14 – Save button and Make Button
Transcripts
Hey, everybody, it’s Craig here. In this tutorial, I’m gonna show you how to export your finished video.
HOW TO EXPORT YOUR VIDEO
So once you have finished designing your video you’re going to export it using this “Make” button right here.

Make Button is on the Editor Page
Now you have a save button and a make button so I want you to think of this the same way that you would think about printing a document on a printer. You can click the save button in your word processor using google docs or Microsoft word, for example. You can click save,

Save Button is on the Video Editor Page
and that’s going to save your progress. But when you want the actual document, you click print. Right? And if you make changes and click save, that is not going to be on your printed documents, so you have to reprint and the video is the same thing. Basically, if you want to have the changes you’ve made appear on your video, clicking save is not enough.
You’re going to have to click the make button again, so just remember, click save when you want to save your progress, and when you’re ready to make your final video you’re going to click the make button and when you click that right here in this export area, you’re going to see a progress bar here, and that progress bar is gonna tell you how long it takes to create your video. On average, you can expect it to take about a minute for every minute of video you have. So if you have a three-minute video, it will probably take you about three minutes to create your finished video. Those times can change based on a few factors, like how big and file size your original video was and what type of countdown you chose. So there are a few factors that might skew those times a little bit, but that’s basically, generally how long it’s going to take.
So that’s how you can export your finished video. And if you have any questions, definitely post them on the help desk would be happy to help you.