Timestamps:
2:34 – Choose your still image
3:02- What is Frame Grabbing tool
3:38 – How to Remove background
3:47 – Create thumbnail image
3:59 – How to choose templates
4:41 – Hide element outside the canvas
4:47 – How to Add shapes
Transcript:
Hey, everybody, it’s Craig with Clipscribe. I’m going to show you how to easily get frame grabs for your thumbnail. What most people do is shoot a video and they upload it to wherever they’re going to upload it. And then they think about a way I need to choose a thumbnail for this video. And so, they either go through and choose one from the video, within Facebook or Instagram or wherever they’re uploading it to or maybe they have one that they’ve already created and uploaded. a lot of times you are just having to choose a frame and you haven’t thought about it.
So, your frames are like, your faces contorted in most of the video, and you’re just looking for that one shot that’s going to work where you don’t look weird. you know where hopefully you’re smiling a little bit. Usually, I’ve been looking at the very beginning or at the very end, where I hope I have a second where I’m just smiling.
Here’s how you can solve that problem, which basically just takes a few seconds, 10-20 seconds at the beginning of your video to strike a pose, literally. Just if it’s as simple as just a or give it a smile or if you want to amp it up, which I recommend too, do one of these or I like doing the eyebrow or whatever or you can do that. I don’t know. You can do the look suspicious look, you can do the look real close to the camera kind of look any of these are going to amp things up, you can even do the hat. I have a hat that I use for a video that I did one time. You can amp it up with props, hats, anything that will grab attention beyond the norm is brilliant. so, once you have that, then it’s up to you to go grab that frame and put it into, an actual thumbnail.
Now, I’m going to show you how to do this using Clipscribe very, very easily just recently built-in some tools to make this just super easy for you. So, I have this video and this first block here of time is 76 seconds long is literally that’s all I did is just made a bunch of poses that what is the “what the heck?” that’s the “I don’t know”, that’s the “yeah, thumbs up!” Obviously, I just already showed you these suspicious eyes, and so obviously the point. I call that one the oh, yeah, point. so, once you go through and just make some poses like that now here’s the cool thing is that I can use this frame-grabbing tool right here. This little camera icon,
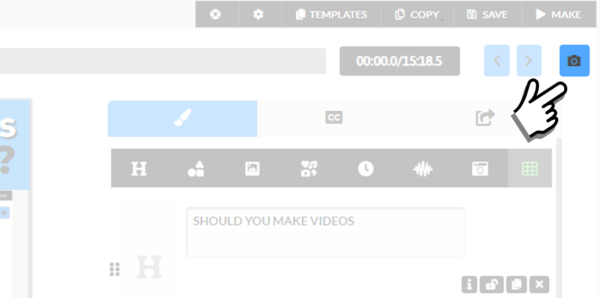
The camera icon is used to capture the current frame
I’m going to click that and I’m going to choose to capture the current frame and add it to my frame gallery, which is what the software is going to do now.
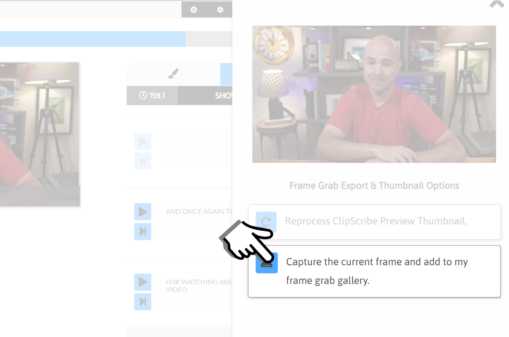
Capture the current frame can be found when you click the camera icon on the Video Editor Page
Now, I’ve added this to a gallery of frames that I’ve already taken from other videos.
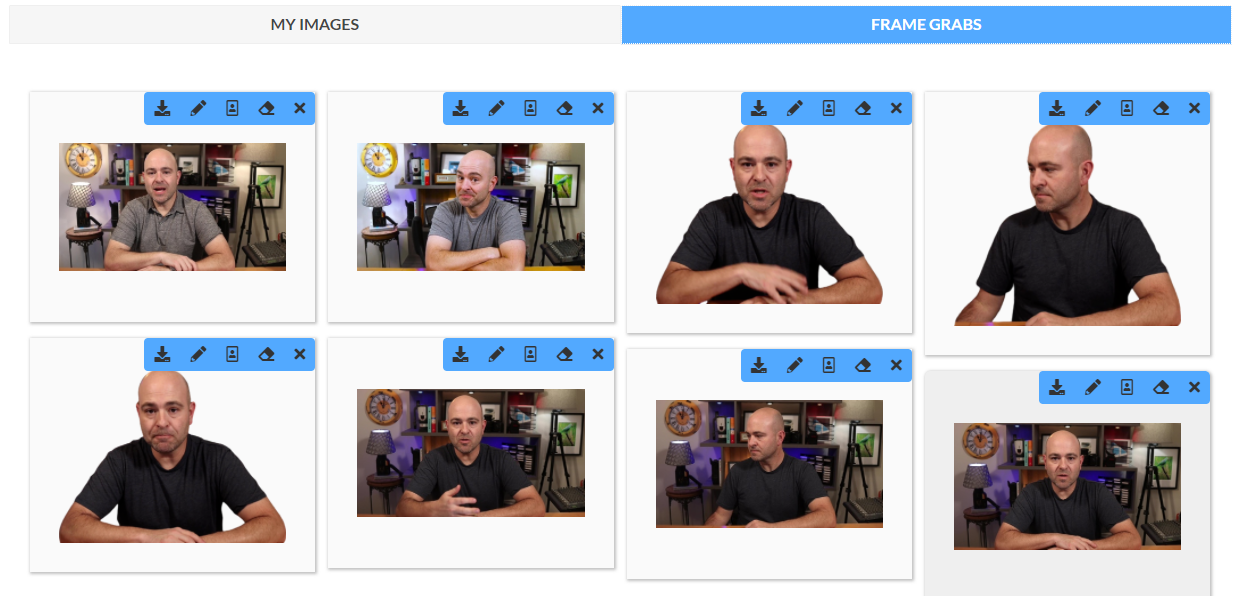
You can find your captured frame grabs on the Frame Grabs tab
A lot of this is testing, which is why some of these look rather goofy. But here is my frame right here. Now I can do a couple of cool things with this if I have a pro plan or greater, I can remove the background from behind this thumbnail, and that’s what these are.
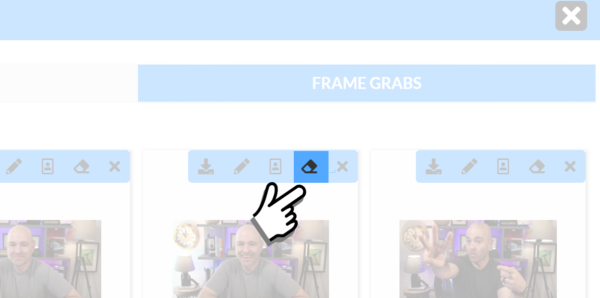
The Remove Background is on the Frame Grabs Tab
And in one click, I can remove that background. And then what I can do is I can create a thumbnail image, a still image with this. So I’m going to click this to create a still image.
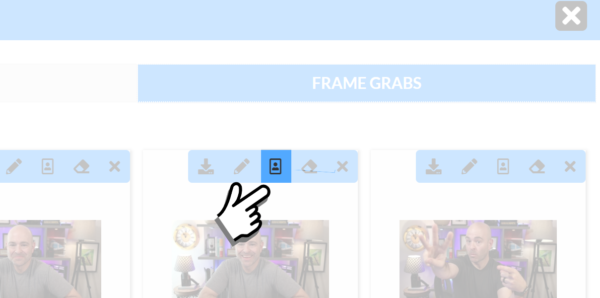
Create a Still image is on the Frame Grabs Tab
And I’m going to choose and I’ve got some templates down here, and then I’m going to choose this guy right here, and it’s going to drop that thumbnail. it’s going to drop that image ride into the designer, and then I can take that. and I can actually create, and if I want to utilize it will include the text that I already had on my video and my branding and everything. So, I can either use that, or I could ditch that and I can just start from scratch. I can make this thumbnail much bigger, and there’s a tool over here where I can hide the elements outside of the canvas there. So, I can better see what’s going on here so, I can make this my thumbnail now.
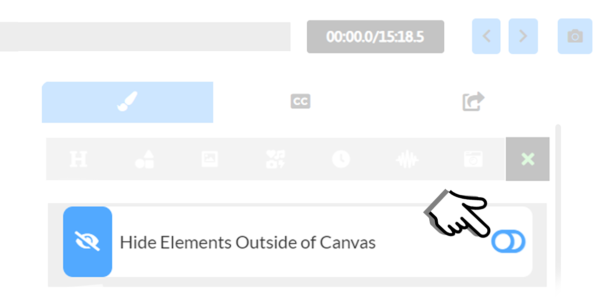
The Hide Elements Outside of Canvas is on the Grids Tab on the Video Editor Page
I’m actually, just using this image as my main graphic here, and I can add a box to go behind it. So, lots of design options here so that you can really easily and quickly create a thumbnail for your video. but you can also, just change the background color on this guy real quick. Where’d you go? There we go and put him behind this text here so, I can create a thumbnail with it. But I can also use this to just create a still graphic to promote my video.
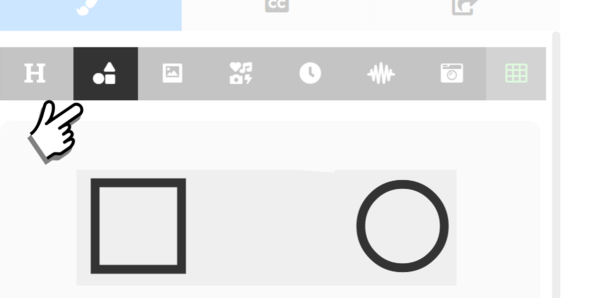
The Add Shape tab is on the Video Editor Page
Okay, I can just create a graphic, and then I can use that instead of a video. and I can use that as a post to complement my other video content. but the core of this is, to think ahead and create, and make some imagery that’s going to work for your thumbnail. Think ahead about it. Don’t wait till your video is done and then have to just take those few seconds at the beginning of your video and make some shots to choose from when you go.
So, hopefully, this helps you out. if you have any questions, definitely, let me know in the comments. If you haven’t tried Clipscribe yet. Clipscribe.com check it out. Whatever my thumbnail image there is to take some time, I hope you find something good, so that, you have some good options and make your video.