Timestamps:
0:36 – Get Frame grabs
0:46 – Where is Frame Grab Gallery
2:09 -How to remove the background
3:59 – Redo the background
Transcript:
Hey, everybody, it’s Craig with ClipScribe. In this tutorial, I’m going to show you how to remove the background from your frame grabs. If you are in a pro-level membership or higher you get a number of bonus credits to be able to remove the background from your frame grabs. That way you can create really cool thumbnails or still graphics. So, I’m going to show you how to do that right now.
How to Remove the Background
In the last video, I showed you how to get frame grabs by using the camera icon.
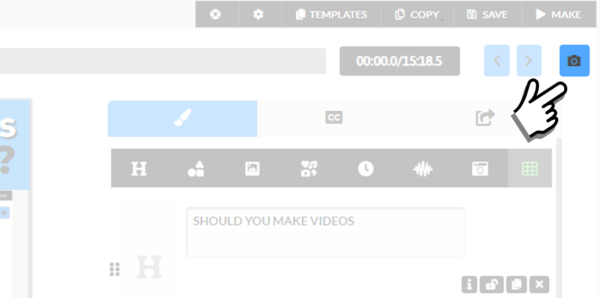
The Capture Still Image is on the Video Editor Page
To get to your frame grab library, click the image icon and then click the frame grabs tab.
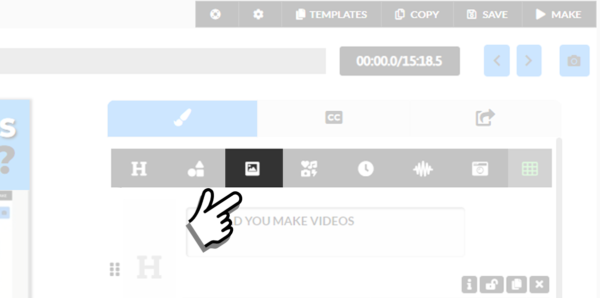
The Frame Grabs icon is on the Media Page
From here, it’s really easy to remove the background from your image. We’re linked to the website remove.bg, which you might have used before. They do a great job of removing the background from your images.
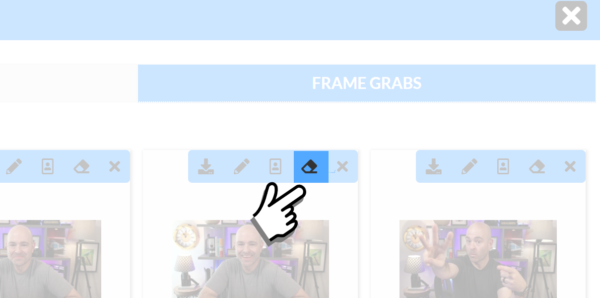
Remove Background is on the Frame Grabs Tab
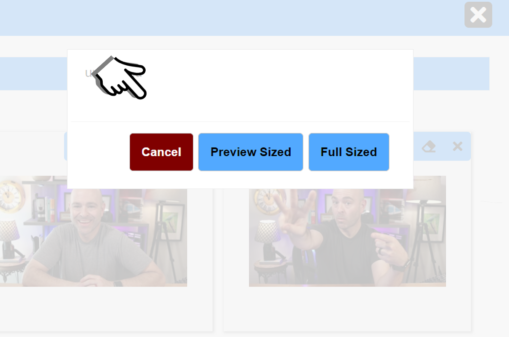
There are two options you have for removing the background. You can do a preview size or you can do a full size, and the difference in your credits is if you do full-sized background removal, you’re gonna get full resolution based on whatever your original image was, and that will cost you one credit. If you do preview size, it will be around 600 pixels wide and that’s going to cost you a quarter of the credit you’re using based on your plan. So, for example, if you’re on a pro plan, you get 10 credits.
For background removal, you can remove the background from 40 images at the preview size or 10 images at the full size. So let me show you how you do it. Like I said, it’s quite simple. Above your thumbnail will be an erasure icon. When you mouse over it says, “removed background”. It’s going to ask you if you want to do preview size or full size. I’m going to click ‘full size’ and wait here a few seconds while it works on it and removes the background from my image. It will then refresh, and there you go! It did a pretty darn good job! Now note, this is all done by an AI background removal so, it’s pretty much a “one and done” type thing. At this point, there’s no way to do additional touch-ups.
So, just be aware of that. I have found that most of the time it comes out pretty darn good and I don’t have any complaints about it. But there have been a few times when I wished I could tweak something I didn’t like. Also, the finished products are also going to depend on the quality of your original video. Just be aware that the better quality of the original video; lighting, etcetera, the better results. Overall, it’s quite impressive. So yeah, that’s all you need to do.
Changing Sizes
Change the Frame Grab size is found on the Frame Grabs tab
So let’s say you need to change the size. Maybe you initially did the preview size but now you need to do the full size. You can go back and just click the eraser again. This will remove the background and restore your original image in order to remove the background from the original image. This will allow you to make the appropriate edits. This way, you can try the preview it, and go back and create the full size if you want. So that’s another option for you.
Stay Tuned…..
In the next video, I’m going to show you how to take these images to create a thumbnail or still graphic. But for now, I just wanted to get you going on this. Let me know if you have any questions. Hopefully, this was helpful for you.